Blog
Mastering Canon Camera Settings for Stunning Photography
Introduction
Canon cameras are renowned for their versatility and reliability, making them popular among both beginners and professional photographers. However, to truly harness their power, understanding the best Canon camera settings is crucial. This guide will cover essential camera settings, tips, and techniques to help you take your photography to the next level.
1. Understanding Canon Camera Modes
Canon cameras come with various modes tailored to different photography needs. These modes are usually found on the mode dial and include:
- Auto Mode: Ideal for beginners, this mode automatically adjusts the camera’s settings for optimal exposure. However, for more control, manual settings are recommended.
- Aperture Priority (Av): This mode lets you control the aperture while the camera sets the shutter speed automatically. It’s perfect for portraits and shallow depth-of-field photography.
- Shutter Priority (Tv): In this mode, you choose the shutter speed while the camera adjusts the aperture. It’s great for capturing motion, such as sports and wildlife photography.
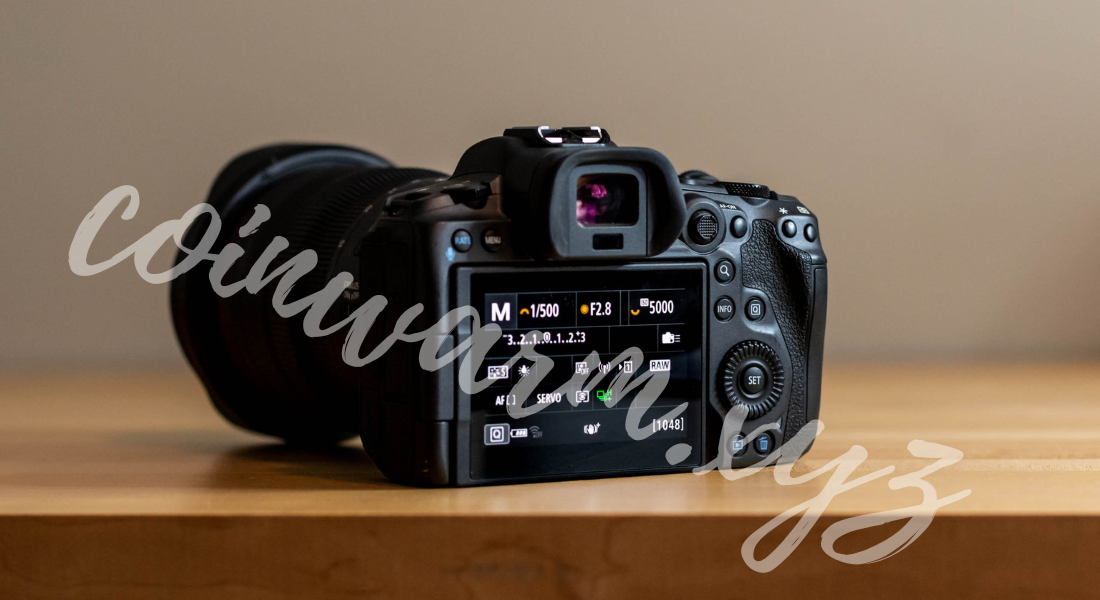
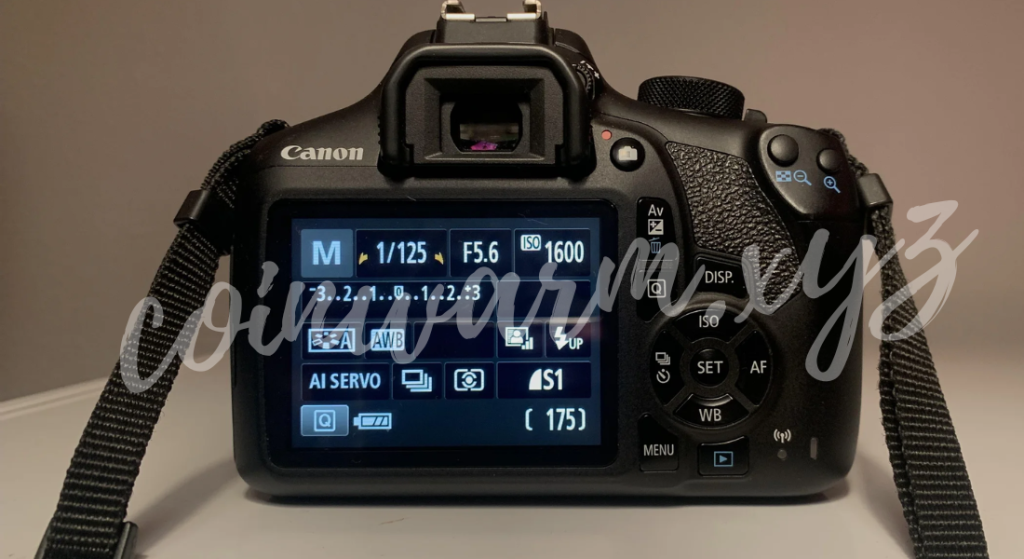
- Manual Mode (M): This mode offers full control over all settings, allowing experienced photographers to fine-tune their exposure, ISO, aperture, and shutter speed.
2. Key Canon Camera Settings Explained
Understanding the foundational settings will allow you to adapt your camera to different shooting scenarios. Here’s what you need to know:
a. Aperture (f-stop)
The aperture determines how much light enters the camera. A lower f-stop (e.g., f/1.8) results in more light and a shallow depth of field, making the subject stand out against a blurred background. Higher f-stops (e.g., f/16) are suitable for landscapes, ensuring everything in the frame is sharp.
b. Shutter Speed
Shutter speed affects how long the camera’s sensor is exposed to light. Fast shutter speeds (e.g., 1/1000s) freeze motion, while slower speeds (e.g., 1/15s) create motion blur, which can be artistic when photographing flowing water or light trails.
c. ISO Sensitivity
ISO determines how sensitive the camera sensor is to light. A low ISO (e.g., 100) provides cleaner images in bright conditions. Higher ISOs (e.g., 1600 or 3200) are better for low light but may introduce noise. Striking the right balance is key to achieving a crisp image.
3. Best Settings for Different Photography Types
Different photography scenarios call for tailored settings to achieve the best results.
a. Portrait Photography
- Mode: Aperture Priority (Av)
- Aperture: f/1.8 to f/2.8 for a shallow depth of field
- ISO: 100-400 in well-lit environments; 800+ in low light
- Focus Mode: Single-point AF for precise focus on the subject’s eyes
b. Landscape Photography
- Mode: Aperture Priority (Av) or Manual (M)
- Aperture: f/8 to f/16 for sharp detail throughout the frame
- ISO: 100 for minimal noise
- Shutter Speed: Use a tripod for slower shutter speeds to avoid camera shake
c. Sports and Action Photography
- Mode: Shutter Priority (Tv)
- Shutter Speed: 1/500s or faster to freeze motion
- ISO: 400-1600, depending on lighting
- Focus Mode: Continuous AF to keep moving subjects in focus
4. Utilizing Canon’s Advanced Features
Canon cameras come with advanced features designed to enhance photography.
a. Auto-Focus Modes
Canon’s Dual Pixel AF technology ensures quick and accurate focusing, ideal for both stills and video. Face Detection AF is useful for portrait photography, while Zone AF works well for tracking subjects in sports.
b. Picture Styles
Picture styles adjust color tone, sharpness, and contrast. For portraits, the Portrait style enhances skin tones, while Landscape boosts greens and blues for vibrant outdoor scenes.

5. Tips for Shooting in Low Light
Low light conditions can be challenging, but with the right settings, you can capture sharp images without excessive noise.
- Open the Aperture: Use a low f-stop to let in more light.
- Increase ISO: While higher ISO can introduce noise, modern Canon cameras handle noise well up to ISO 3200 or 6400.
- Use a Tripod: For stability in long exposures, a tripod is essential.
- Enable Image Stabilization: This feature helps reduce camera shake when shooting handheld.
6. Customizing Canon Camera Settings
Custom settings allow you to create personalized configurations that suit your photography style.
a. Custom Shooting Modes (C1, C2, C3)
Many Canon models offer custom shooting modes that save specific settings for quick access. This feature is beneficial when switching between different shooting scenarios quickly.
b. My Menu
The My Menu function lets you add frequently used settings to a custom menu for faster navigation. Include options like ISO speed settings, white balance, and AF modes.
7. Best Practices for Optimal Image Quality
Adhering to these practices will help you make the most out of your Canon camera:
- Shoot in RAW: RAW files capture more data, making it easier to edit and enhance photos in post-production.
- Adjust White Balance: Setting the correct white balance ensures true-to-life colors. Use presets like Daylight, Cloudy, or set it manually for mixed lighting conditions.
- Use Histogram: The histogram helps you assess exposure and avoid overexposed highlights or underexposed shadows.
- Take Test Shots: Reviewing images and adjusting settings on the spot helps you fine-tune your setup.
Conclusion
Mastering Canon camera settings involves practice and understanding the technical aspects that affect your photos. Whether you’re shooting a portrait, capturing fast-paced sports, or photographing stunning landscapes, adjusting your Canon camera settings to match the scene can dramatically improve your results. With consistent practice and familiarity with your camera’s capabilities, you’ll be well on your way to producing professional-level photos that stand out.
By using these settings and tips, you can confidently explore the creative potential of your Canon camera and capture images that are both vivid and impactful.

