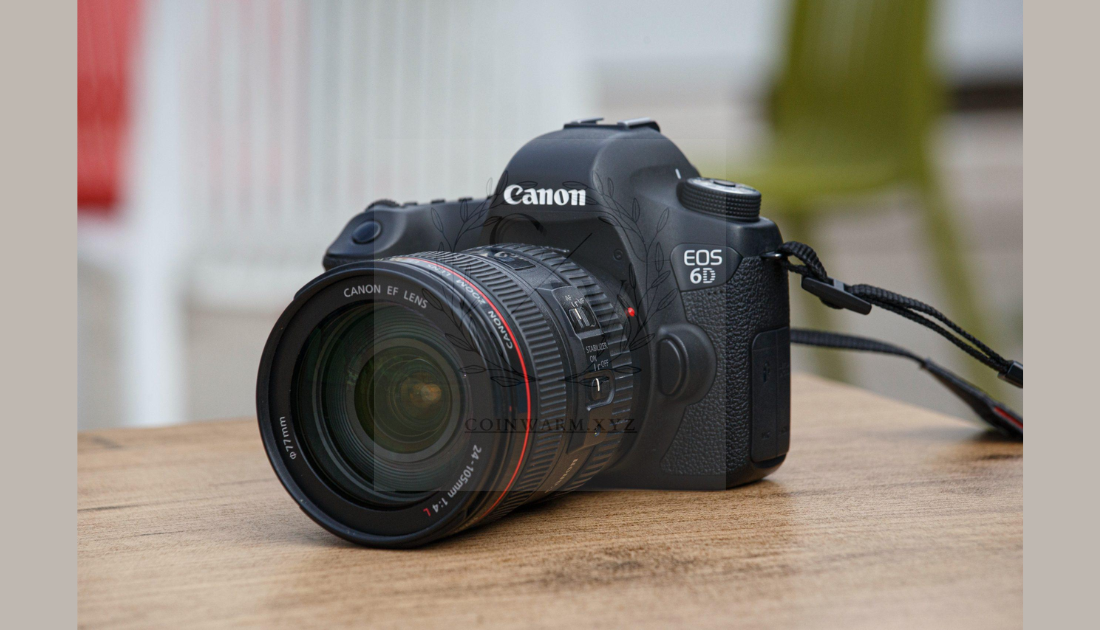
Mastering the various Canon camera modes is essential for photographers aiming to take their skills to the next level. Whether you’re capturing landscapes, portraits, or action shots, understanding these modes allows you to optimize settings for every scenario. Canon cameras are designed with user-friendly features and versatile options, making them suitable for beginners and professionals alike.
This article explores the different Canon camera modes, their benefits, and how to use them effectively to enhance your photography.
Table of Contents
ToggleWhat Are Canon Camera Modes?
Canon camera modes refer to the preset or customizable settings that control how the camera adjusts exposure, shutter speed, aperture, and other parameters. These modes are accessible via the mode dial on most Canon DSLRs and mirrorless cameras, offering a range of automatic, semi-automatic, and manual options.
Each mode is tailored to specific shooting conditions, enabling photographers to focus on composition and creativity rather than technical adjustments. From fully automatic settings for beginners to advanced modes for seasoned photographers, Canon ensures a mode for every level and need.
Why Understanding Canon Camera Modes Matters
Learning how to use Canon camera modes effectively can significantly enhance your photography. By selecting the appropriate mode, you can achieve better results in various lighting conditions, subject movements, and artistic preferences.
Additionally, understanding these modes gives you greater control over your shots, allowing you to experiment and develop your unique style. Whether you’re aiming for sharp portraits, dramatic nightscapes, or perfectly exposed action shots, Canon camera modes provide the tools to make it happen.
Overview of Canon Camera Modes
Here’s a detailed guide to the most common Canon camera modes and how to use them:
1. Auto Mode (Green Square)
Auto mode is the default setting for beginners. The camera automatically adjusts exposure, focus, and white balance, ensuring well-balanced shots in most conditions. While convenient, it offers limited creative control, making it ideal for quick snapshots or when you’re unsure of the settings.
2. Program AE Mode (P)
Program AE mode allows the camera to adjust shutter speed and aperture automatically while giving you control over other settings like ISO, white balance, and exposure compensation. This mode is perfect for transitioning from fully automatic to semi-automatic shooting, offering a balance of convenience and customization.
3. Aperture Priority Mode (Av)
In this mode, you set the aperture, and the camera adjusts the shutter speed for proper exposure. Aperture priority is ideal for controlling depth of field, whether you want a blurred background for portraits or sharp focus throughout a landscape.
For example, a wide aperture (low f-number) creates a shallow depth of field, highlighting the subject against a soft background. Conversely, a narrow aperture (high f-number) ensures detailed focus across the entire scene.
4. Shutter Priority Mode (Tv)
Shutter priority mode lets you select the shutter speed while the camera adjusts the aperture. This mode is useful for capturing motion, whether you’re freezing fast-moving subjects or creating artistic blur.
For instance, a fast shutter speed (1/1000s or higher) is ideal for sports or wildlife photography, while a slower speed (1/30s or lower) works well for light trails or flowing water effects.

5. Manual Mode (M)
Manual mode gives you full control over all camera settings, including aperture, shutter speed, and ISO. This mode is perfect for photographers who want complete creative freedom and are comfortable adjusting exposure manually. Manual mode is particularly useful in challenging lighting conditions or when consistency across multiple shots is required.
6. Scene Intelligent Auto (A+)
Scene Intelligent Auto mode analyzes the scene and automatically selects the best settings. It’s a more advanced version of Auto mode, perfect for beginners who want better results without diving into manual adjustments.
7. Portrait Mode
This mode is tailored for capturing stunning portraits. It automatically selects a wide aperture to create a shallow depth of field, ensuring the subject is sharp while the background is beautifully blurred. Portrait mode also enhances skin tones for a natural and flattering look.
8. Landscape Mode
Landscape mode prioritizes a narrow aperture to maximize depth of field, ensuring everything in the scene is in focus. This mode also adjusts color saturation to make skies, greenery, and other elements appear more vibrant.
9. Sports Mode
Sports mode is designed for action photography. It uses a fast shutter speed to freeze motion and tracks moving subjects with continuous autofocus. This mode is ideal for capturing sports events, wildlife, or kids playing.
10. Night Portrait Mode
Night portrait mode combines a slow shutter speed with flash to capture well-lit subjects against ambient backgrounds. This mode is perfect for shooting portraits in low-light settings, ensuring both the subject and environment are properly exposed.
11. Creative Auto Mode (CA)
Creative Auto mode bridges the gap between Auto and Manual modes. It provides user-friendly controls for adjusting background blur, brightness, and other settings while still automating technical parameters. This mode is ideal for experimenting with creative effects without full manual control.
Tips for Using Canon Camera Modes Effectively
To get the most out of Canon camera modes, follow these practical tips:
Understand Your Subject and Environment
Consider the lighting, movement, and composition of your scene when choosing a mode. For example, use Landscape mode for wide vistas and Sports mode for fast action.
Experiment with Semi-Automatic Modes
As you gain confidence, explore Aperture Priority and Shutter Priority modes. These semi-automatic settings strike a balance between control and convenience, helping you learn how exposure works.
Practice in Different Conditions
Test various modes in different lighting and environmental conditions. Practice helps you understand how each mode behaves and when to use it.
Use Exposure Compensation
When shooting in modes like Program AE or Aperture Priority, use exposure compensation to fine-tune brightness. This feature is particularly useful in high-contrast scenes.
Leverage the Scene Modes
Scene modes like Portrait, Landscape, and Night Portrait are designed for specific scenarios. Using these modes ensures optimal settings without manual adjustments.
Experiment with Manual Mode
Once you’re comfortable with the basics, dive into Manual mode to take full control of your camera. Experimenting with shutter speed, aperture, and ISO teaches you how these settings interact.
Why Choose Canon Cameras for Photography?
Canon cameras are renowned for their reliability, innovation, and user-friendly designs. From entry-level models to professional-grade equipment, Canon offers versatile options that cater to every skill level and style. The inclusion of intuitive camera modes ensures photographers can grow and explore their creativity at their own pace.
Whether you’re a hobbyist capturing family moments or a professional seeking precision, Canon’s camera modes empower you to produce stunning, high-quality images.
Conclusion
Canon camera modes are a gateway to better photography, offering tools for every level and scenario. By understanding and practicing these modes, you can enhance your skills, unlock your creative potential, and capture breathtaking images with ease.
From the simplicity of Auto mode to the complete control of Manual mode, Canon cameras are designed to adapt to your needs and elevate your photography. Explore these modes today and take the first step toward mastering the art of capturing unforgettable moments.

